How to Install a Lawn Sprinkler System in 2026: Zones, Backflow Preventers and the Permitting Catch Most US Homeowners Miss
A pro irrigation install runs $3,500 to $6,800 for a quarter-acre lot in 2026. DIY brings it down to $1,400 — but only if you get the backflow preventer, the zone math, and the permit right.
Your sprinkler bill last summer was $190 a month, and the lawn still browned out by mid-July because you can't water deep enough with a hose timer to actually reach the roots. The contractor your neighbor hired wants $5,800 for a six-zone system. The big-box store sells you a "DIY kit" for $440 that won't pass code inspection in your county. Somewhere between those two prices is the real cost of a residential irrigation system in 2026 — about $1,400 to $1,800 in materials for a quarter-acre lot, plus the permit and the backflow inspection. The difference between $1,400 and $5,800 is a long Saturday with a trenching shovel and one phone call to a licensed plumber for the backflow tie-in.
The 2026 irrigation market changed in two important ways. First, smart controllers got cheap and good — a Rachio 3 (8-zone) runs $230 in May 2026, down from $340 two years ago, and it talks to local weather stations to skip cycles after rain. The water savings alone pay for the controller in the first season. Second, EPA WaterSense certification is now required for new installations in 18 states, including California, Texas, Florida, Arizona, Nevada, Colorado, and most of the Pacific Northwest. WaterSense means you need pressure-regulated heads, matched precipitation rates per zone, and a controller that adjusts to evapotranspiration data. The 2018 install your neighbor did is probably grandfathered in. Yours, in 2026, has to be WaterSense compliant in those states or your permit gets denied.
Permits: the part most DIY guides skip
Almost every county in the US requires a permit for a new irrigation system tied to municipal water. The permit isn't expensive — typically $40 to $120 — but it triggers a backflow prevention inspection, which is the real reason for the rule. Without backflow prevention, fertilizer or pet waste from your lawn can be siphoned back into the municipal water supply during a pressure drop. That's a public health issue, not just a paperwork issue, and the EPA enforces it through state programs.
What you need: a Reduced Pressure Zone (RPZ) backflow preventer or a Pressure Vacuum Breaker (PVB), depending on local code. RPZ is more reliable but costs $180-$340 for the device plus $250-$450 for the licensed plumber to install and certify it. PVB is cheaper ($90-$180) but only allowed in some jurisdictions because it has to be installed at least 12 inches above the highest sprinkler head. In Texas, Florida, California, and most of the Northeast, RPZ is the default. Check with your county's water utility website — they all have plumbing code summaries online.
The HOA gotcha
- If you live in an HOA, check the CC&Rs before you trench. Some HOAs require pre-approval of any irrigation system, including specifying head colors and box covers.
- Many HOAs in master-planned communities (Texas, Florida, Arizona) require professional installation only — DIY isn't allowed because of liability for shared landscaping.
- If your lawn is on the front of a corner lot, drought-tolerant plant requirements (xeriscaping mandates) may apply by 2026 in much of California and Arizona — sprinklers may need to be combined with drip zones.
Zone planning: the math that determines whether your system works
The single most common mistake in DIY irrigation is too many heads on one zone. Every zone has a maximum gallon-per-minute output limited by your home's water pressure and pipe diameter. Most US homes deliver 8-12 GPM at 50 PSI through a standard 3/4" hose bib, but actual capacity through a 1" main line is 12-18 GPM. A standard rotor head uses 2-4 GPM at the right pressure. Spray heads use 1-2 GPM each. So a zone of 8 spray heads may be fine. A zone of 8 rotor heads will starve — the last heads in the zone will dribble instead of throw water 25 feet.
Test your home's water pressure and flow before designing zones. Pressure: a $14 gauge from Home Depot screws onto your hose bib. Flow: turn on a hose with the gauge and time how long it takes to fill a 5-gallon bucket — that gives you GPM. If you're under 8 GPM with the bucket test, you'll need 4-5 small zones rather than 2-3 big ones, and your runtimes will be longer. Don't fight the physics — design around your actual flow.
Head selection: rotor vs. spray vs. drip
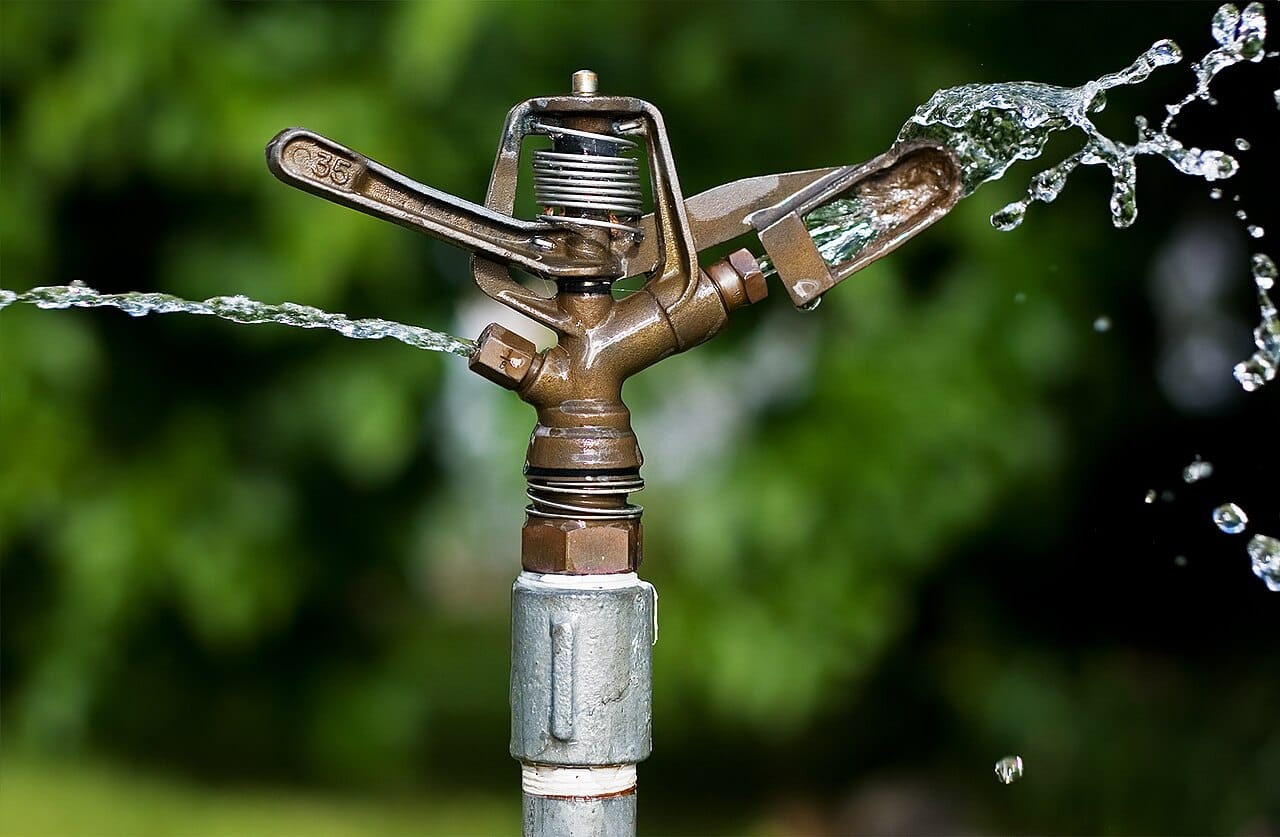
Rotor heads (Hunter PGP, Rain Bird 5000, K-Rain Pro Sport) throw water 18-50 feet in a slow rotating arc. Use them for large open areas — front lawns, side yards. Standard cost in 2026: $14-$22 per head. Spray heads (Hunter MP Rotator is the trending pick) throw 5-25 feet in a fixed pattern. Better for narrow strips and odd-shaped beds. The MP Rotator at $11-$14 per head delivers matched precipitation rates that make the WaterSense math work in code-strict states.
Drip irrigation has gone mainstream in 2026 for foundation plantings, vegetable beds, and tree wells. Half-inch drip tubing with emitters every 12 inches runs about $0.65 per foot. A drip zone uses far less water than spray, and it's exempt from many municipal water restrictions during droughts. If you're in California, Arizona, Nevada, or Texas, planning at least one drip zone is worth doing for the long-term water rules.
Trenching and pipe: the unglamorous reality
You'll lay 1" SCH 40 PVC for the main lines (from the backflow preventer to the manifold) and 3/4" or 1" funny pipe (flexible polyethylene) for runs to individual heads. Burial depth in 2026 is 8-12 inches in most of the country, deeper (18 inches) where freezing is a winter risk — and yes, you blow out the system before the first hard freeze regardless of zone or you'll be replacing every cracked head in spring.
Rent a trencher from Home Depot or United Rentals: $95-$140 per day for a 4-inch trencher, $180-$240 for a 6-inch ride-on. For a quarter-acre lot, a 4-inch trencher cuts about 200 linear feet per hour through average soil — meaning you can dig the entire system in a single 8-hour day. Don't try this with a shovel. The shoulder pain isn't worth $140.
Pipe joints: solvent weld correctly or pay later
PVC fittings are joined with primer (purple) and solvent cement (Christy's Red Hot Blue Glue or Oatey Heavy Duty). The order matters: clean the pipe end and the fitting socket, brush primer on both, immediately apply cement, push pipe into fitting with a quarter turn, hold for 15 seconds. The most common mistake DIYers make is skipping the primer or applying cement and waiting too long before joining — both cause weak joints that leak after the first frost cycle. Primer is not optional. Use it on every joint.
The smart controller: where modern systems shine
The Rachio 3 (8-zone, $230 in May 2026) and the Hydrawise HC by Hunter ($280-$340) are the two reliable controllers homeowners install themselves. Both connect to your home Wi-Fi, both pull weather data from local stations, both let you control zones from your phone. The big difference: Hydrawise has a more polished pro-installer ecosystem, while Rachio has a friendlier consumer app and integrates better with smart home platforms (Google Home, Alexa, Apple HomeKit).
What modern smart controllers actually do: they take your zone parameters (head type, soil type, slope, sun exposure) and calculate watering schedules based on real evapotranspiration data from your local NOAA weather station. A good controller cuts water use 30-50% versus a clock-based timer. EPA WaterSense reports indicate average savings of $250 a year on water bills for households running smart irrigation versus standard timers. The controller pays for itself in the first summer.
The realistic cost breakdown for a quarter-acre lot
For a 6-zone system covering about 8,000 square feet of lawn and beds in May 2026:
- Backflow preventer (RPZ device): $260
- Plumber to install and certify backflow: $380
- 1" PVC pipe and fittings: $310
- 3/4" funny pipe for head connections (300 ft): $185
- 30 spray heads with MP Rotator nozzles + 8 rotor heads: $580
- 6-zone valve manifold + valves: $220
- Smart controller (Rachio 3 8-zone): $230
- Wire (UF-rated 18-gauge multi-strand): $90
- Trencher rental (1 day): $130
- Permit fee: $75
- Total materials and prep: about $2,460
Compare to professional install at $4,800-$6,500 for the same system. The savings are real — about $2,500-$4,000 — but they require a long Saturday or two of physical labor and one careful Sunday tuning the controller and adjusting head spray patterns. If your back can take it, this is one of the higher-ROI DIY projects in 2026 home improvement.
Installation order that doesn't cause headaches
Day 1, morning: pressure test your home's water and run flow calculations. Map zones on graph paper with all heads, pipes, and runs marked. Confirm your design with a sprinkler dealer (many will review your plan free if you buy materials from them). Apply for permit at your county's online portal — 5-10 business days for approval in most jurisdictions.
Day 1, afternoon (after permit approval, typically 1-2 weeks later): rent the trencher early. Trench all main and lateral lines before you assemble anything. Dig the manifold pit. Lay pipe loosely in the trenches. Don't glue anything yet.
Day 2: solvent-weld all joints starting from the manifold outward. Set heads at the trench level — don't bury them yet. Run wire from controller location to each valve. Test pressure and check for leaks before backfilling. This step is critical: a leak under 8 inches of dirt is much harder to find later than one in an open trench.
Day 3: backfill, install controller, program zones for first run. Schedule backflow inspection with the county. After inspection passes, your system is permanent and certified. Walk the yard during first runs, adjust nozzle arcs to avoid the driveway, fence, and house siding. Save $4,000, water deeper than your neighbors, and watch your lawn green up by mid-June while theirs is still patchy.