Smart Thermostat Install — A Saturday Project That Pays for Itself in 18 Months
Skip the $250 contractor labor charge. With one screwdriver, a voltage tester, and twenty minutes, you can install a smart thermostat that pays for itself in two heating seasons.
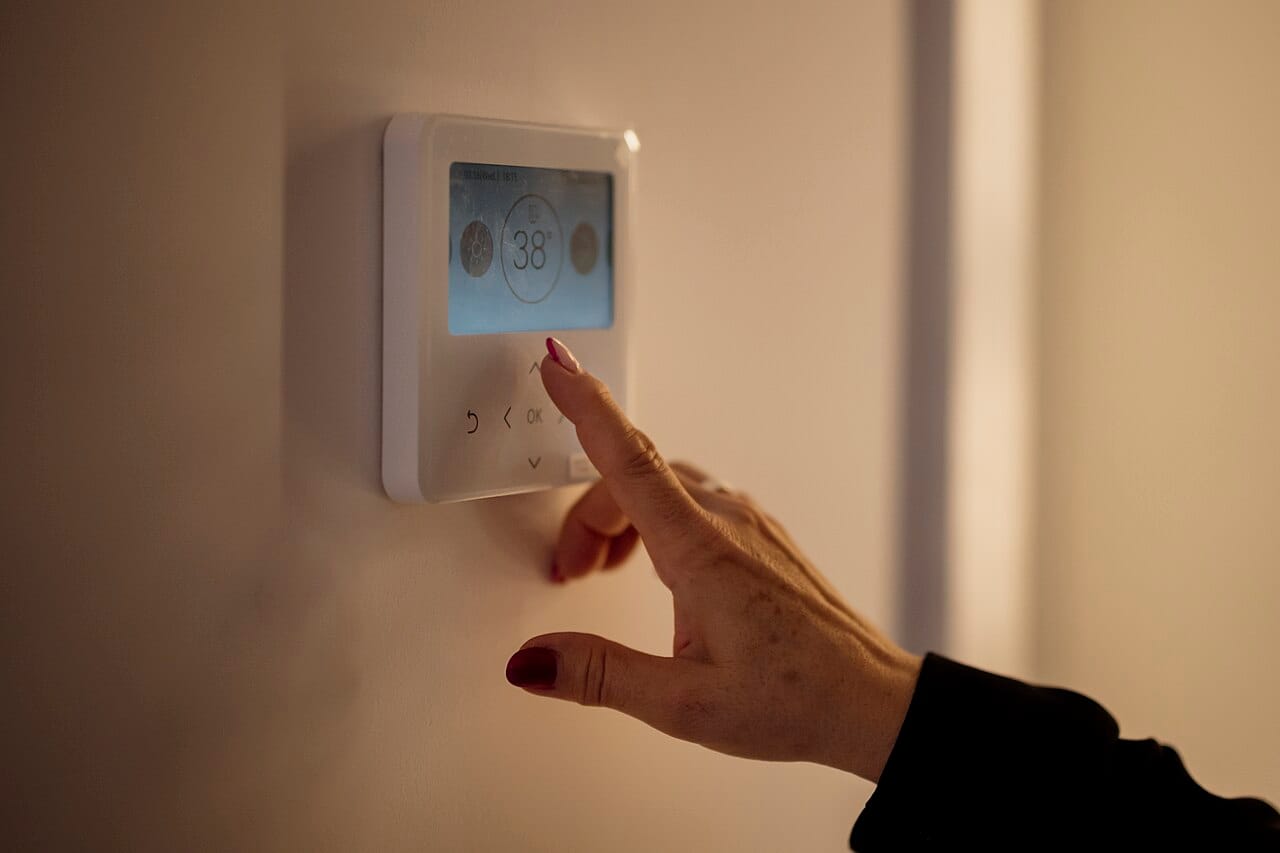
Last week a homeowner in Cleveland told me he'd been quoted $480 by an HVAC contractor to install a smart thermostat. The hardware was $230. The labor — twenty minutes of work — was the rest. If you can use a screwdriver and read a wiring label, you can keep that $250 and have the job done before lunch. Here's exactly how, with the gotchas nobody mentions on the box.
What you actually need
Three things matter when picking a smart thermostat in 2026: C-wire compatibility, the app ecosystem you already use, and whether your HVAC system is single-stage, two-stage, or has a heat pump with auxiliary heat. Skip the marketing fluff about AI learning — every major brand has solid algorithms now.
- Ecobee Premium — $249 at Home Depot, built-in air quality sensor, works with Apple HomeKit, Alexa, and Google. Best all-rounder.
- Google Nest Learning Thermostat (4th gen) — $279 at Lowe's, slick Matter support, weak point is its mediocre humidity sensor.
- Honeywell Home T9 — $169 at Home Depot, ships with one remote sensor, great pick for ranch homes with cold back bedrooms.
- Amazon Smart Thermostat — $79 at Amazon, basic but Energy Star certified, only makes sense if you're deep in the Alexa ecosystem.
The C-wire question — settle this before you buy
The C-wire (common wire) provides constant 24-volt power. Most smart thermostats need it; battery-only operation is unreliable in winter. Pull your old thermostat off the wall and look at the terminal block. If you see a wire connected to a terminal labeled C, you're golden. If not, you have three options:
- Use the power extender kit that comes free with Ecobee Premium — adds a small box at the furnace, takes ten extra minutes
- Buy a Venstar Add-A-Wire ($25 at Home Depot) for systems with five wires already in place
- Run a new five-conductor 18/5 thermostat cable — only worth it if the wall cavity is open during a remodel
Tools and materials laid out
- Phillips and flathead screwdrivers
- Voltage tester (a $12 non-contact pen from any orange or blue box does the job)
- Smartphone for the app and to photograph existing wiring
- Painter's tape and a fine marker to label wires
- Drywall anchors if the new base plate doesn't line up with old screw holes
- Optional: small touch-up paint can in your wall color (Sherwin-Williams sample size, $7) — old thermostats often hide wall damage
Step-by-step install
Step one — kill the power
Walk to the breaker panel and flip the circuit feeding your furnace or air handler. Do not just turn off the system at the thermostat; the 24-volt control circuit stays live. Test with a non-contact voltage tester at the existing thermostat terminals before touching anything. Skipping this step is how people fry $250 thermostats.
Step two — document the old wiring
Pull the old thermostat off its base plate. Take a clear, well-lit photo of every wire and which terminal it connects to. Then label each wire with painter's tape: write R, W, Y, G, C — whatever matches the terminal it came from. Wire colors are a suggestion, not a standard. I've seen yellow wires on R terminals more than once.
Step three — install the base plate
Hold the new base plate against the wall, level it, and mark the new screw holes. If they don't align with existing holes, drill fresh ones with the supplied anchors. Feed the wires through the center hole and connect each one to the matching terminal. Most modern thermostats use a push-down lever — pop the lever, insert the wire, release. No stripping needed beyond what's already there.
Step four — clip the unit on, restore power
Snap the thermostat body onto the base. Walk back to the breaker, flip it on, and watch the screen come alive. Connect to your home Wi-Fi when prompted. The setup wizard will ask about your system type — answer carefully, especially the heat pump and aux heat questions. Wrong setup here can run your auxiliary heat strips constantly and double your December electric bill.
The first week — calibrate, don't trust defaults
Smart thermostats default to aggressive setbacks: 62°F at night, 78°F during summer days when nobody's home. That works for some households, miserable for others. Spend the first week tweaking schedules and watching the energy reports the app generates. Real numbers from the U.S. Department of Energy show typical savings of 8 to 12 percent on heating bills when set correctly — about $145 a year on a $1,500 annual HVAC spend.
What can go wrong
- Short-cycling — system kicks on and off every five minutes. Means the temperature differential is set too tight; widen it from 0.5°F to 1.0°F
- Wi-Fi drops — most thermostats run on 2.4 GHz only. If your router pushes 5 GHz exclusively, create a separate 2.4 GHz IoT network
- Heat pump confusion — if your system has emergency heat, double-check the O/B reversing valve setting matches what your installer wired
Twenty minutes of patient work, one trip to Home Depot or Lowe's, and a Saturday morning. The thermostat pays for itself in heating savings inside two seasons, and you skip the contractor markup that has nothing to do with skill — only with willingness to charge it.